Workshop Tip: Laying Out the Palette

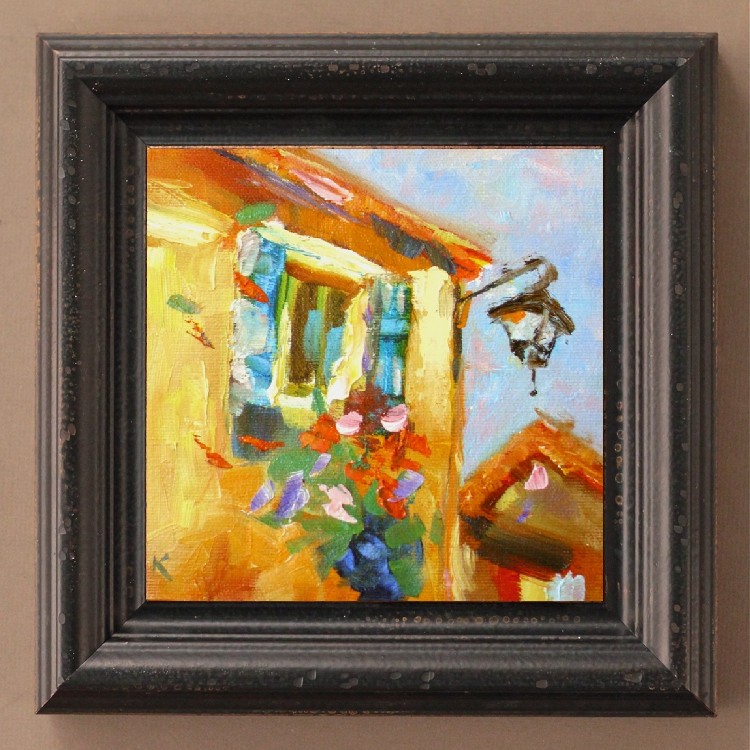
Shuttered Window
6 X 6
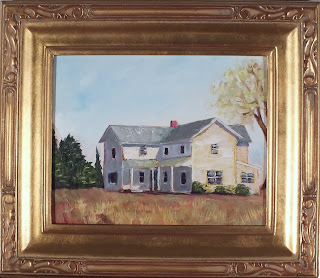
Here is how it might look framed.
This little painting was a group project that we did as an exercise in our workshop with Dreama. We were given four minutes to work on our paintings and then were told to go to our neighbor's painting and then had four minutes to work on that one and so on for about 40 minutes. It was amazing what we ended up with in such a short amount of time.
I wanted to pass along a tip from the workshop that came from one of the class members. She is actually an accomplished artist at The Artist Attic where we had our class. Her studio was filled with fantastic work.
One of the things that she noticed doing this little exercise we did was that some of our palettes were not laid out very well. ( Yes, that's me raising my hand). When you do a search for paint palette on Google you get pictures like this:


One of the things Dreama stressed was cleaning the mixing area of the palette often so the colors stayed clear and bright otherwise, your paintings tend to get muddy. Boy, can I make mud!
Very helpful hints for me. Hope they are helpful for you too.

Great tip Karla. Some of those piled high palletts look like abstract sculptures themselves.
ReplyDeleteLove how this piece came out with all the hands that were involved. It is just lovely, Karla. Glad to know that I instinctively was laying down the worms of oils rather than the plops...
ReplyDeleteYou are right Carol. I had the same thougt!
ReplyDeleteYou have good instincts Sherry!
ReplyDelete