Cutie on Tea Towel and a Helpful Tool
 |
| Cutie2 on Tea Towel |
6 x 6
Oil on Panel
 The painting of fabric continues. I actually painted this set-up twice. The first one turned out like this one to the right. Which I don't think is a bad painting, just the one at the top is more subtle. So anyway, I was searching around the web and found some videos that I think will probably be my biggest find for 2013 in terms of helping me paint better. They are how-to videos by Mark Carder on his site Draw Mix Paint. By the way, Mr Carder has painted beautiful portraits of two U. S. sitting presidents. He is really really good!
I was having an e-mail chat with a painter friend recently about getting the values right. In Mark's videos (which are free! Well at least 90% of them and the ones he sells are incredibly in-expensive) he teaches you how to not only get the values right, but to also get the color right. The main thing I have learned is how to make a wooden "color catcher". See his video on this. It took me about 30 minutes to make and I am not a carpenter.
So what does this tool do for me you ask? Well, I will tell you. Using the tool you can take the paint that you have mixed for a section of your painting and hold it up to your still life object and check the value. Once you have the value right, then you can check the color. All this is done before your brush touches the canvas. In this way, you can get the color/value perfect and then apply it to your panel. It is amazing how looking at a spot on a still life can be affected by the areas around that spot and distorts it to our eyes. What this tool does, is saves, many, many, fussing around paint strokes to try and get it right after the fact. I estimate in the second painting that I eliminated my "fussing around" by about 90%. I am not kidding! Besides that, you will have much more expressive brushwork without all the fussing; if that is your goal.
Does it take longer to paint using this method? Yes, maybe a little. But not a whole lot, because as I said, you are getting the paint down right the first time.
So check out his web-site if you are serious about improving your painting. I am sooooo glad I did!
 | ||
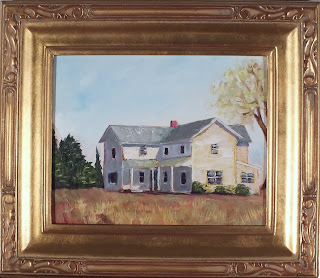
| Here is how today's painting might look framed. |
Check out some of my art!
Visit my Daily Paintworks Gallery. HERE

Nicely done! Thanks for the link to Mark Carder's videos... very interesting! Sooo much to learn! I'm going to try some of his tips including the 'color catcher' tool.
ReplyDelete
ReplyDeleteLovely painting, like the way you did the towel in this painting. Also thank you for the link in this post too. Love his site. One question could you please let me know how you show your paintings in different frames.
Thanks Kathleen!
ReplyDeleteHi Nora, So nice to meet you!
To answer your question (and in case anyone else was wondering), I keep a file of empty frame photos in a variety of sizes/proportions. Trying to photograph a painting in a frame creates shadows as you probably already know.
So here is what I do.
After I have edited my photo of my painting in my photo editor software (and saved it) I go to Edit. Select All. and then Copy.
Then I go to my frames file and select the frame I want to use and open it.
Then in Edit I select Paste and the painting photo is thrown on top. I then re-size the painting to fit in the frame.
That's it!
I like it when I can see how things might look framed and finished.
Have a great day and thanks for stopping by my blog!
Karla
Very nice painting and very informative post. I'm going to take your advice and will watch Carder's video. Thanks!
ReplyDeleteBeautiful painting! I have watched several of Carder's videos and they are very helpful. Thanks for your post yesterday. Sometimes, I too, have some of the same questions for myself.
ReplyDelete